Quick Start - Custom Domain
This guide will help you deploy VaultSandbox using your own domain. This is ideal for production environments, compliance requirements, or when you need custom branding.
Prerequisites Checklist
Section titled “Prerequisites Checklist”Before you begin, ensure you have:
- Docker and Docker Compose installed
- A domain or subdomain you control (e.g.,
qa.example.com) - Public IP address with ports 25, 80, and 443 accessible
- DNS access to create A and MX records
Step 1: Configure DNS
Section titled “Step 1: Configure DNS”Point your subdomain to the server running VaultSandbox. You’ll need two DNS records:
A Record
Section titled “A Record”Points your subdomain to your server:
qa.example.com. A YOUR.SERVER.IPMX Record
Section titled “MX Record”Tells email servers to deliver mail for your subdomain to VaultSandbox:
qa.example.com. MX 10 qa.example.com.Step 2: Create Docker Compose Configuration
Section titled “Step 2: Create Docker Compose Configuration”Create a new directory for VaultSandbox:
mkdir vaultsandbox && cd vaultsandboxCreate a docker-compose.yml file with just 3 environment variables:
services:  gateway:    image: vaultsandbox/gateway:latest    container_name: vaultsandbox-gateway    restart: unless-stopped
    ports:      - '25:25' # SMTP      - '80:80' # HTTP (ACME challenges)      - '443:443' # HTTPS (Web UI + API)
    environment:      # Just 2 variables - that's it!      VSB_SMTP_ALLOWED_RECIPIENT_DOMAINS: 'qa.example.com'      VSB_CERT_ENABLED: 'true'
    volumes:      - gateway-data:/app/data # Persist certificates and API keys
    healthcheck:      test: ['CMD', 'curl', '-f', 'http://localhost:80/health']      interval: 30s      timeout: 10s      retries: 3      start_period: 40s
volumes: gateway-data:Step 3: Start VaultSandbox
Section titled “Step 3: Start VaultSandbox”docker compose up -dCheck that the service is running:
docker compose psYou should see the vaultsandbox-gateway container running.
Retrieve your auto-generated API key (you’ll need this for the Web UI):
docker compose exec gateway cat /app/data/.api-key; echoStep 4: Access the Web UI
Section titled “Step 4: Access the Web UI”Open your browser and navigate to:
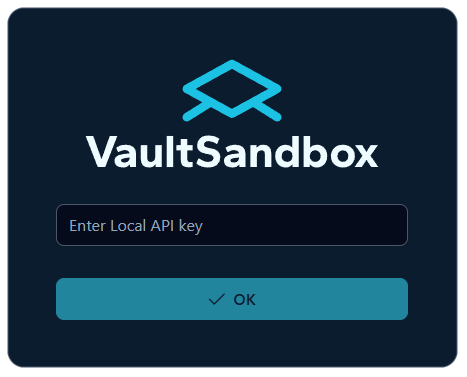
https://qa.example.com/appYou’ll be prompted to enter your API key:
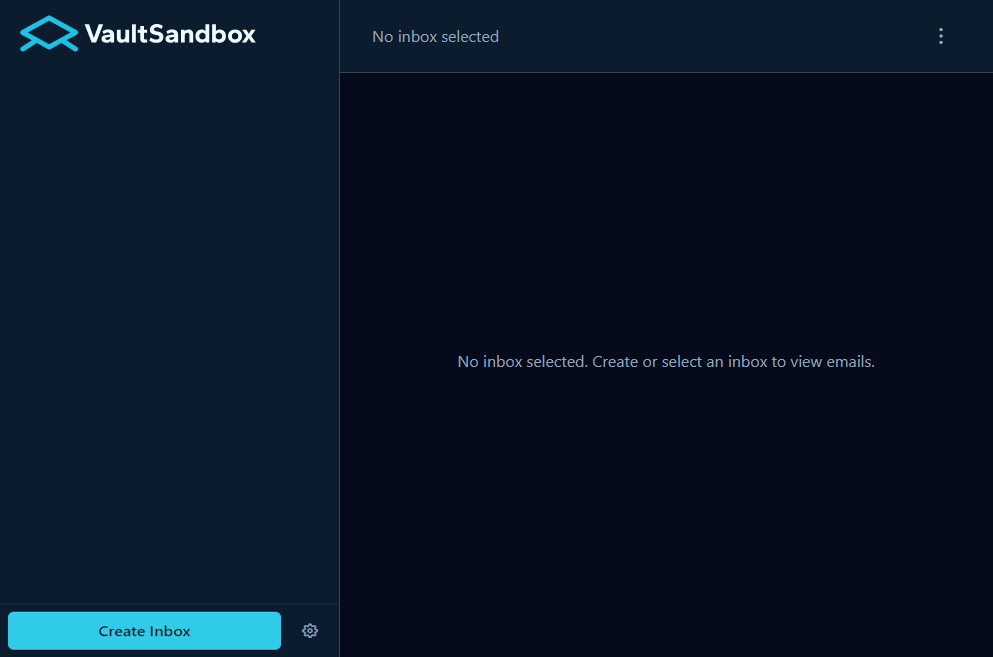
Step 5: Create Your First Inbox
Section titled “Step 5: Create Your First Inbox”In the web UI:
- Click “Create Inbox” button
- Copy the generated email address (e.g.,
a1b2c3d4@qa.example.com) - Your inbox is ready to receive emails
That’s it! Your inbox will automatically capture any emails sent to that address.
Step 6: Send a Test Email
Section titled “Step 6: Send a Test Email”Send a test email to your inbox address using any email client or SMTP tool:
# Using swaks (SMTP testing tool)swaks --to a1b2c3d4@qa.example.com \ --from test@yourdomain.com \ --server qa.example.com \ --port 25 \ --h-Subject "Test Email" \ --body "Hello from VaultSandbox!"Or simply use your regular email client (Gmail, Outlook, etc.) and send to the inbox address.
Step 7: View Your Email
Section titled “Step 7: View Your Email”Go back to the web UI and you should see your email appear in the inbox:

Click on it to view:
- Full email content (HTML and plain text)
- All headers
- Extracted links
- Authentication results (SPF, DKIM, DMARC)
- Attachments

Verify Production Parity
Section titled “Verify Production Parity”To confirm VaultSandbox is testing like production, check the authentication results:
- Send an email from a domain you control with proper SPF/DKIM setup
- View the email in VaultSandbox
- Check the Authentication section
- You should see real SPF, DKIM, and DMARC verdicts
Next Steps
Section titled “Next Steps”Now that VaultSandbox is running, explore more features:
- Architecture Overview - Understand how the zero-knowledge encryption works
- Docker Compose Guide - Production-ready deployment configurations
- Node.js Client Documentation - Integrate email testing into your automated tests
- Testing Patterns - Learn best practices for testing transactional emails
Troubleshooting
Section titled “Troubleshooting”Emails Not Arriving
Section titled “Emails Not Arriving”-
Use the DNS Setup Tool: Visit vaultsandbox.com/setup to verify your DNS configuration
-
Check DNS manually: Ensure MX and A records are properly configured
Terminal window dig MX qa.example.comdig A qa.example.com -
Check SMTP Port: Ensure port 25 is not blocked by your hosting provider
Terminal window telnet qa.example.com 25 -
Check Logs:
Terminal window docker compose logs gateway
Can’t Access Web UI
Section titled “Can’t Access Web UI”-
Check if service is running:
Terminal window docker compose ps -
Check logs:
Terminal window docker compose logs gateway -
Verify HTTPS is ready: Check logs for “Certificate obtained successfully”
-
Try HTTP first: If HTTPS isn’t working yet, try
http://qa.example.com/app
Need Help?
Section titled “Need Help?”- Open an issue on GitHub
- Review the deployment documentation for more configuration options
Resources
Section titled “Resources”- Website: www.vaultsandbox.com
- Documentation: vaultsandbox.dev
- GitHub Gateway: github.com/vaultsandbox/gateway
- Docker Hub: hub.docker.com/r/vaultsandbox/gateway