Quick Start
This guide will help you deploy VaultSandbox and send your first test email in under 5 minutes using VSX DNS - automatic domain assignment with no DNS configuration required.
Prerequisites Checklist
Section titled “Prerequisites Checklist”Before you begin, ensure you have:
- Docker and Docker Compose installed
- Public IP address with ports 25, 80, and 443 accessible (no NAT/firewall blocking)
That’s it! No domain registration or DNS configuration needed.
Step 1: Create Docker Compose Configuration
Section titled “Step 1: Create Docker Compose Configuration”Create a new directory for VaultSandbox:
mkdir vaultsandbox && cd vaultsandboxCreate a docker-compose.yml file with just 1 environment variable:
services:  gateway:    image: vaultsandbox/gateway:latest    container_name: vaultsandbox-gateway    restart: unless-stopped
    ports:      - '25:25' # SMTP      - '80:80' # HTTP (ACME + VSX verification)      - '443:443' # HTTPS (Web UI + API)
    environment:      VSB_VSX_DNS_ENABLED: 'true'
    volumes:      - gateway-data:/app/data
    healthcheck:      test: ['CMD', 'curl', '-f', 'http://localhost:80/health']      interval: 30s      timeout: 10s      retries: 3      start_period: 40s
volumes: gateway-data:Step 2: Start VaultSandbox
Section titled “Step 2: Start VaultSandbox”docker compose up -dCheck that the service is running:
docker compose psYou should see the vaultsandbox-gateway container running.
Step 3: Discover Your Domain
Section titled “Step 3: Discover Your Domain”Your domain is automatically assigned based on your public IP. Find it by:
Option A: Enter your IP at vsx.email
Option B: Check the certificate metadata:
docker compose exec gateway cat /app/data/certificates/metadata.json; echoYour domain will look like 1mzhr2y.vsx.email.
Retrieve your auto-generated API key:
docker compose exec gateway cat /app/data/.api-key; echoStep 4: Access the Web UI
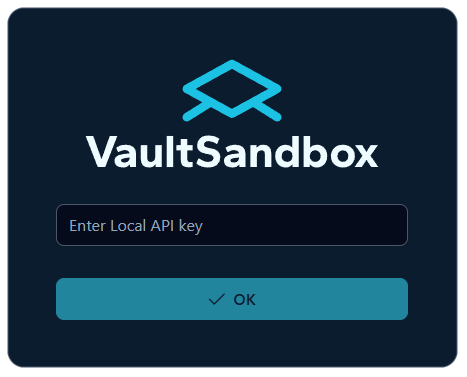
Section titled “Step 4: Access the Web UI”Open your browser and navigate to:
https://YOUR-DOMAIN.vsx.email/appYou’ll be prompted to enter your API key:
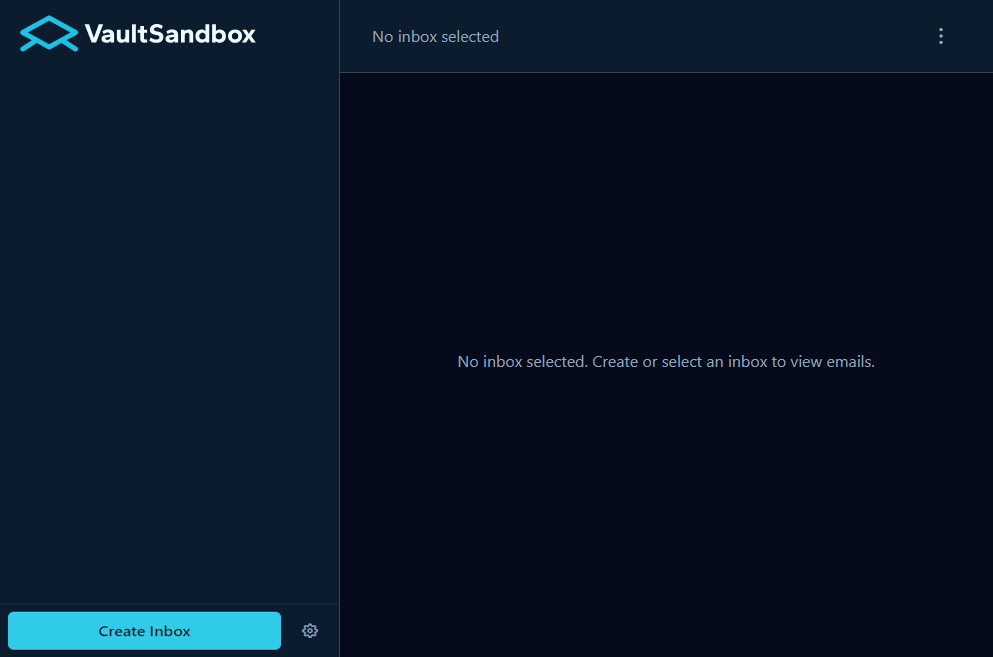
Step 5: Create Your First Inbox
Section titled “Step 5: Create Your First Inbox”In the web UI:
- Click “Create Inbox” button
- Copy the generated email address (e.g.,
a1b2c3d4@1mzhr2y.vsx.email) - Your inbox is ready to receive emails
That’s it! Your inbox will automatically capture any emails sent to that address.
Step 6: Send a Test Email
Section titled “Step 6: Send a Test Email”Send a test email to your inbox address using any email client or SMTP tool:
# Using swaks (SMTP testing tool)swaks --to a1b2c3d4@1mzhr2y.vsx.email \ --from test@yourdomain.com \ --server 1mzhr2y.vsx.email \ --port 25 \ --h-Subject "Test Email" \ --body "Hello from VaultSandbox!"Or simply use your regular email client (Gmail, Outlook, etc.) and send to the inbox address.
Step 7: View Your Email
Section titled “Step 7: View Your Email”Go back to the web UI and you should see your email appear in the inbox:

Click on it to view:
- Full email content (HTML and plain text)
- All headers
- Extracted links
- Authentication results (SPF, DKIM, DMARC)
- Attachments

Verify Production Parity
Section titled “Verify Production Parity”To confirm VaultSandbox is testing like production, check the authentication results:
- Send an email from a domain you control with proper SPF/DKIM setup
- View the email in VaultSandbox
- Check the Authentication section
- You should see real SPF, DKIM, and DMARC verdicts
Next Steps
Section titled “Next Steps”Now that VaultSandbox is running, explore more features:
- Architecture Overview - Understand how the zero-knowledge encryption works
- Custom Domain Setup - Use your own domain instead of VSX DNS
- Node.js Client Documentation - Integrate email testing into your automated tests
- Testing Patterns - Learn best practices for testing transactional emails
Troubleshooting
Section titled “Troubleshooting”Domain Not Assigned
Section titled “Domain Not Assigned”-
Check ports are accessible: Ports 25, 80, and 443 must be publicly reachable
Terminal window # From another machine, test connectivitync -zv YOUR_SERVER_IP 25nc -zv YOUR_SERVER_IP 80nc -zv YOUR_SERVER_IP 443 -
Check logs:
Terminal window docker compose logs gateway -
Verify VSX DNS is enabled: Ensure
VSB_VSX_DNS_ENABLED: 'true'is set
Emails Not Arriving
Section titled “Emails Not Arriving”-
Check SMTP Port: Ensure port 25 is not blocked by your hosting provider
Terminal window telnet YOUR-DOMAIN.vsx.email 25 -
Check Logs:
Terminal window docker compose logs gateway
Can’t Access Web UI
Section titled “Can’t Access Web UI”-
Check if service is running:
Terminal window docker compose ps -
Check logs:
Terminal window docker compose logs gateway -
Verify HTTPS is ready: Check logs for “Certificate obtained successfully”
-
Try HTTP first: If HTTPS isn’t working yet, try
http://YOUR-DOMAIN.vsx.email/app
Need Help?
Section titled “Need Help?”- Learn more about VSX DNS at vsx.email
- Open an issue on GitHub
- Review the deployment documentation for more configuration options
Resources
Section titled “Resources”- Website: www.vaultsandbox.com
- VSX DNS: vsx.email
- Documentation: vaultsandbox.dev
- GitHub Gateway: github.com/vaultsandbox/gateway
- Docker Hub: hub.docker.com/r/vaultsandbox/gateway